Project Editor
The Project Editor provides an environment for editing your Application model and its Components.
- Left Panel (Navigation): The navigation panel on the left allows you to explore and access different parts of your project.
- Center Panel (Main View): The central area displays a tree view and editing functionality for modelling elements.
- Right Panel (View Controls): On the right, you can find buttons to switch to other views, such as a diagram view in the center or a full diagram view.
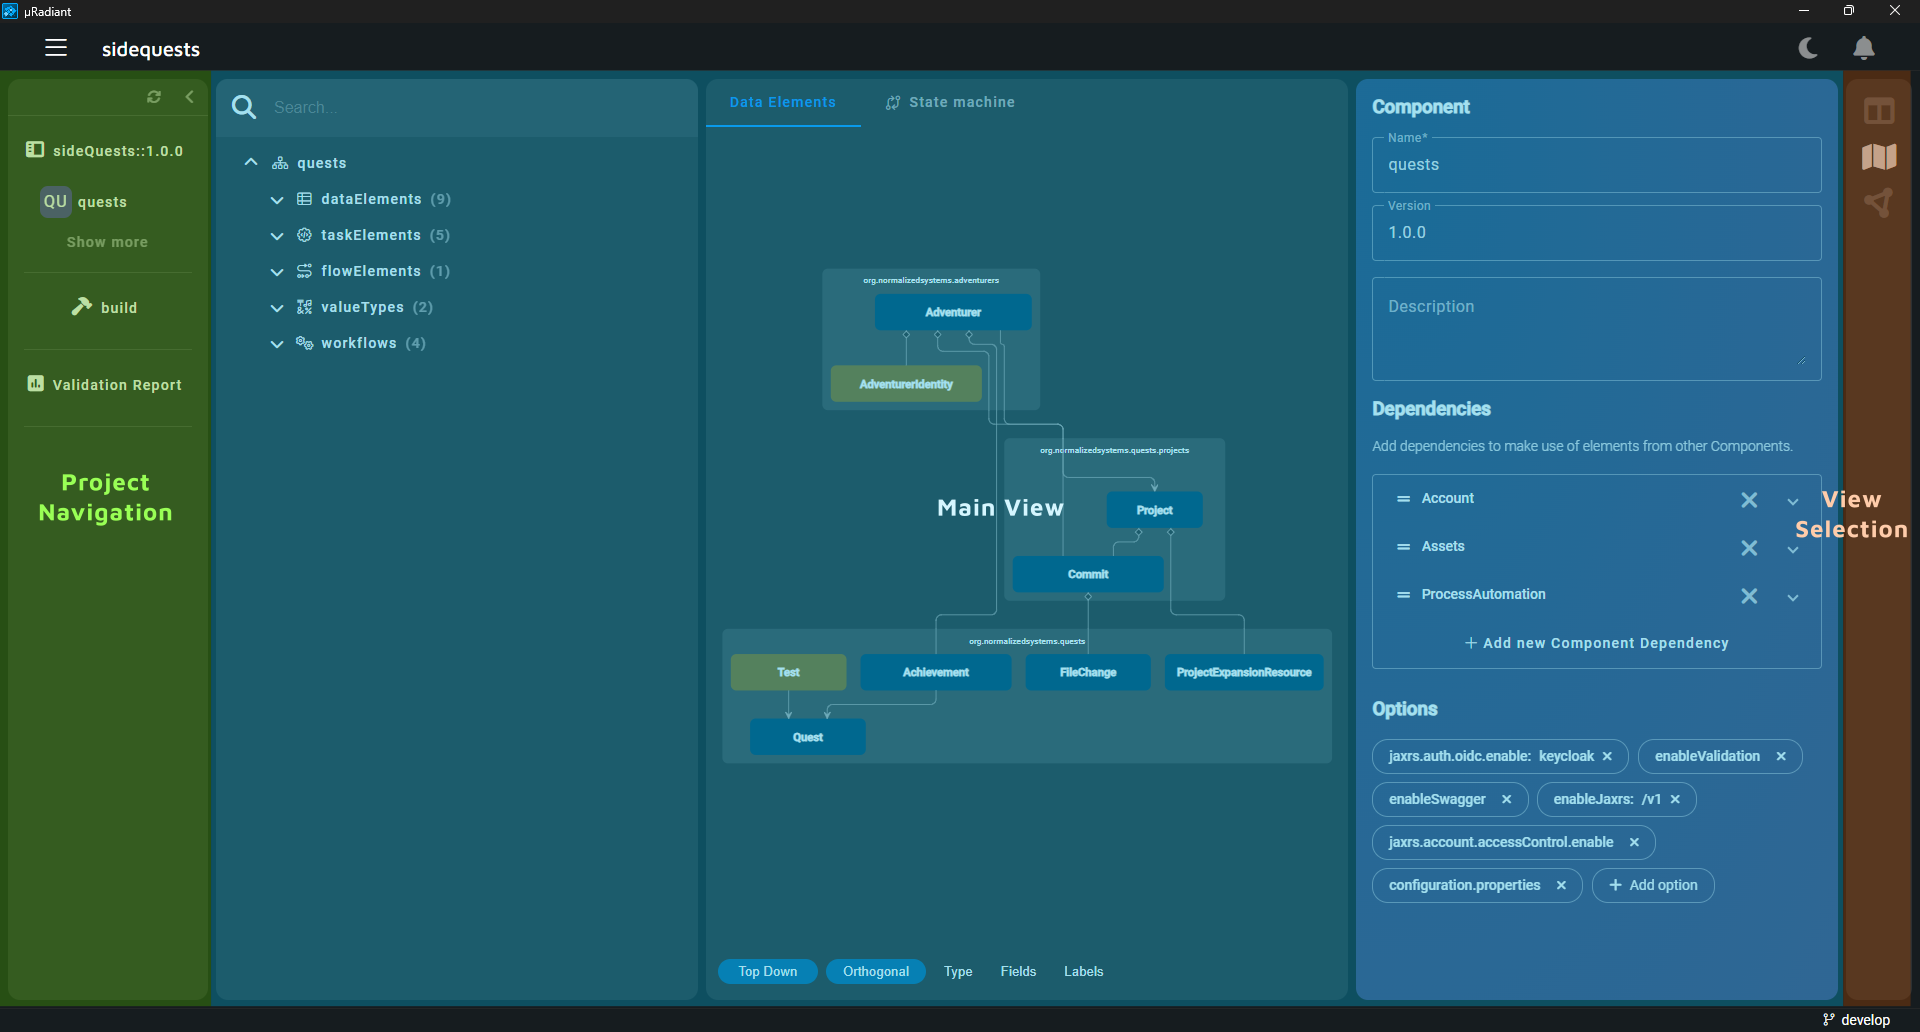

Project Navigation Panel
The Project Navigation Panel enables easy navigation across different aspects of your project. It provides access to project elements and additional views through plugins.
- Application and Components: The panel displays the main Application along with its Components. Clicking the "Show More" button reveals additional Components, such as base components, which are not part of the source directory.
- Plugins: Plugins can extend the navigation with extra views, offering functionalities like build management or displaying validation reports.

View Controls
The view control panel allows you to switch between view layouts. The view options are linked to the selected view in the navigation panel.
Main View
In the main view, you can navigate through the model hierarchy and edit elements.
In the tree view, right-click on any element in the tree view to add, delete, or perform other actions. Alternatively, you can use the three-dot button that appears when you hover over an element.
Use the search bar to filter elements by a specific search term. For example, typing "user" will display elements with "user" in their name or in any of their fields.
When creating a new element, the 'save' button will add it to the model. When editing, changes will update the model automatically.
The user interface that represents elements in the model are provided by plugins. Some parts of the model may require you to install additional plugins. By default, the prime plugin provides functionality to view and edit Applications and Components.