Angular Out of the Box


This blog post discusses the recent efforts made towards an Out Of The Box (OOTB) Angular front-end. Our efforts are focussed on reducing friction when setting up Angular applications. And, even though the concept of Knockout (KO) feature parity is a controversial topic, we consider these efforts to be another significant step in that direction.
The following main things were added:
- OOTB menu: Menu items are now added by default, meaning the sidebar will not be empty anymore. However, if the default menu setup is not what you need, the menu does need to be created custom like before.
- Transmuter: There used to be a transmuter
Upgrade to Angular Projecton applications. This was reworked into transmuterGenerate Default Angular App, helping you create an Angular model based on your existingelementsmodel. - Default Angular App initialization in project initializer: During project initialization an Angular app will now be included by default. You'll need to explicitly opt out if you don't want Angular.
- Support for base components: The OOTB Angular front-end includes CRUD pages for base components, so you don't have to use KO for this anymore.
These changes present themselves in two ways:
- OOTB Angular for a new project
- Adding an OOTB Angular frontend to an existing project
Scenario 1: New Projects with Angular App
You can include Angular as a frontend when running the NS Initializer to set up a new project.
For now, the initializer will always add KO as a frontend as well. The Angular frontend will run alongside it on a different port.
Prerequisites:
- Have Yarn installed on your computer. This is the preferred package manager within NSX, employees should consult the "Software required to install" discourse post to install Yarn correctly.
- Have version
7.0.0of the NS Initializer installed.
Steps to follow:
- Create an empty folder for your new project.
- Initialize a project using:
- Using µRadiant: Go to
Initialize Projectand choose "Application". - Using CLI:
nsinit app. - In both cases, make sure to set
Include Angular frontend?to true, as it will be by default.
- Using µRadiant: Go to
- Expand the application. You should see two folders in the
/expansionsdirectory: one for the backend with KO, and one for the Angular frontend. - Run
yarn installin theexpansions/{your-project-name}-angulardirectory. This installs the packages the Angular application depends on. - Build the frontend and backend using the scripts in
/scripts. - Start the application by running the
start_default_services.nssscript. This will result in KO running on port8080and Angular on port8081. The gateway runs on port8082. It is the preferred entry point of the application and can be used to access both the Angular and KO frontend, e.g.localhost:8082(Angular),localhost:8082/<jeeAppName>(KO). - Enter the username and password from the
.credentialsfile to login. Make sure you add this file to your.gitignore.
You now have a Knockout and an Angular frontend for your application.
Remember that changes to the elements model, like adding a DataElement, are only automatically reflected in the KO
frontend and not in the Angular frontend, since Angular has its own metamodel. If you want to transfer changes in
your elements model to the Angular app, you can run the transmuter described below.
These steps are also included in your project's documentation under documentation/local_setup_guide.md.
Scenario 2: Adding an Angular frontend to an existing KO application
A fully OOTB Angular application can be added as a frontend alongside an existing KO frontend. This process consists of two transmutation steps:
The Angular expanders do not support every technology a KO application supports. If your goal is to fully replace the KO application in the future, you'll need to migrate some of these technologies first to keep the same functionality available.
- Data commands are not supported in Angular. Instead, Angular uses data operations, due to its more unrestricted nature.
- A standard-api (std-api) control layer is required, since Struts are not supported. You can also use the service-api (svc-api), but only the std-api guarantees full feature-parity with Struts.
- It is highly recommended to first migrate your project to the most recent version of the Project Setup expanders. This ensures your project has the same structure as other projects within NSX. If you do not use the project-expanders yet, you can follow this migration guide. Without the default project setup, you might encounter problems that are already fixed.
- Have Yarn installed on your computer. This is the preferred package manager within NSX, employees should consult the "Software required to install" discourse post to install Yarn correctly.
Custom code added to your KO application can not be automatically transferred or translated to Angular code.
1. Steps to add Angular model files:
Angular applications have their own metamodel. A transmuter has been added that creates an Angular model based on
your existing Elements model. The result of the transmuter will be default CRUD screens for all the data elements in
your model, unless they have the angular.noViewLayer option.
Steps to run the Generate Default Angular App transmuter:
- Add the following expansionResources to your
expansionSettings.xml:- angular-beam
- angular-stdapi-expanders
- data-operations-bundle (optional, but recommended)
<!-- Use the specified versions or newer -->
<expansionResource>org.normalizedsystems.beam:angular-beam::1.0.0</expansionResource>
<expansionResource>net.democritus.angular.stdapi:angular-stdapi-expanders::4.0.0</expansionResource>
<expansionResource>net.democritus.bundles:data-operations-bundle::2.5.0</expansionResource>
- Open µRadiant. If you already have it opened, you'll have to reload the project after adding the expansion resources.
- Install version
1.4.1or newer of thenet-democritus-angular-pluginif you haven't already. - Click on your application and run the
Generate Default Angular Apptransmuter.
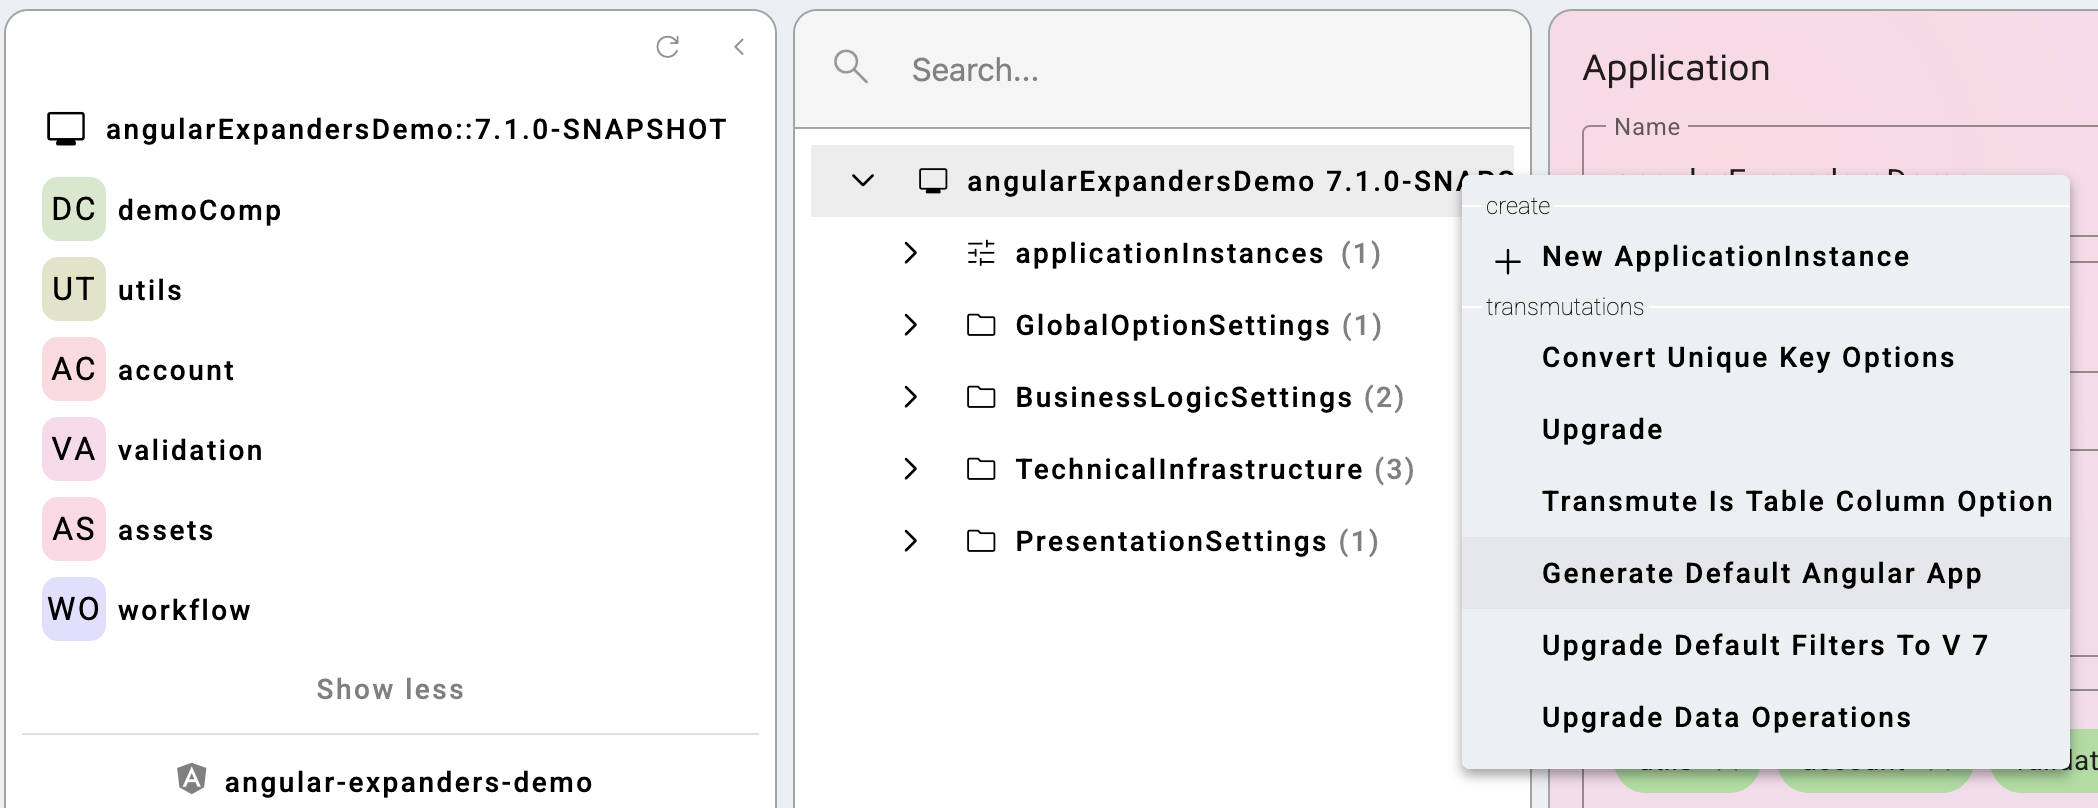
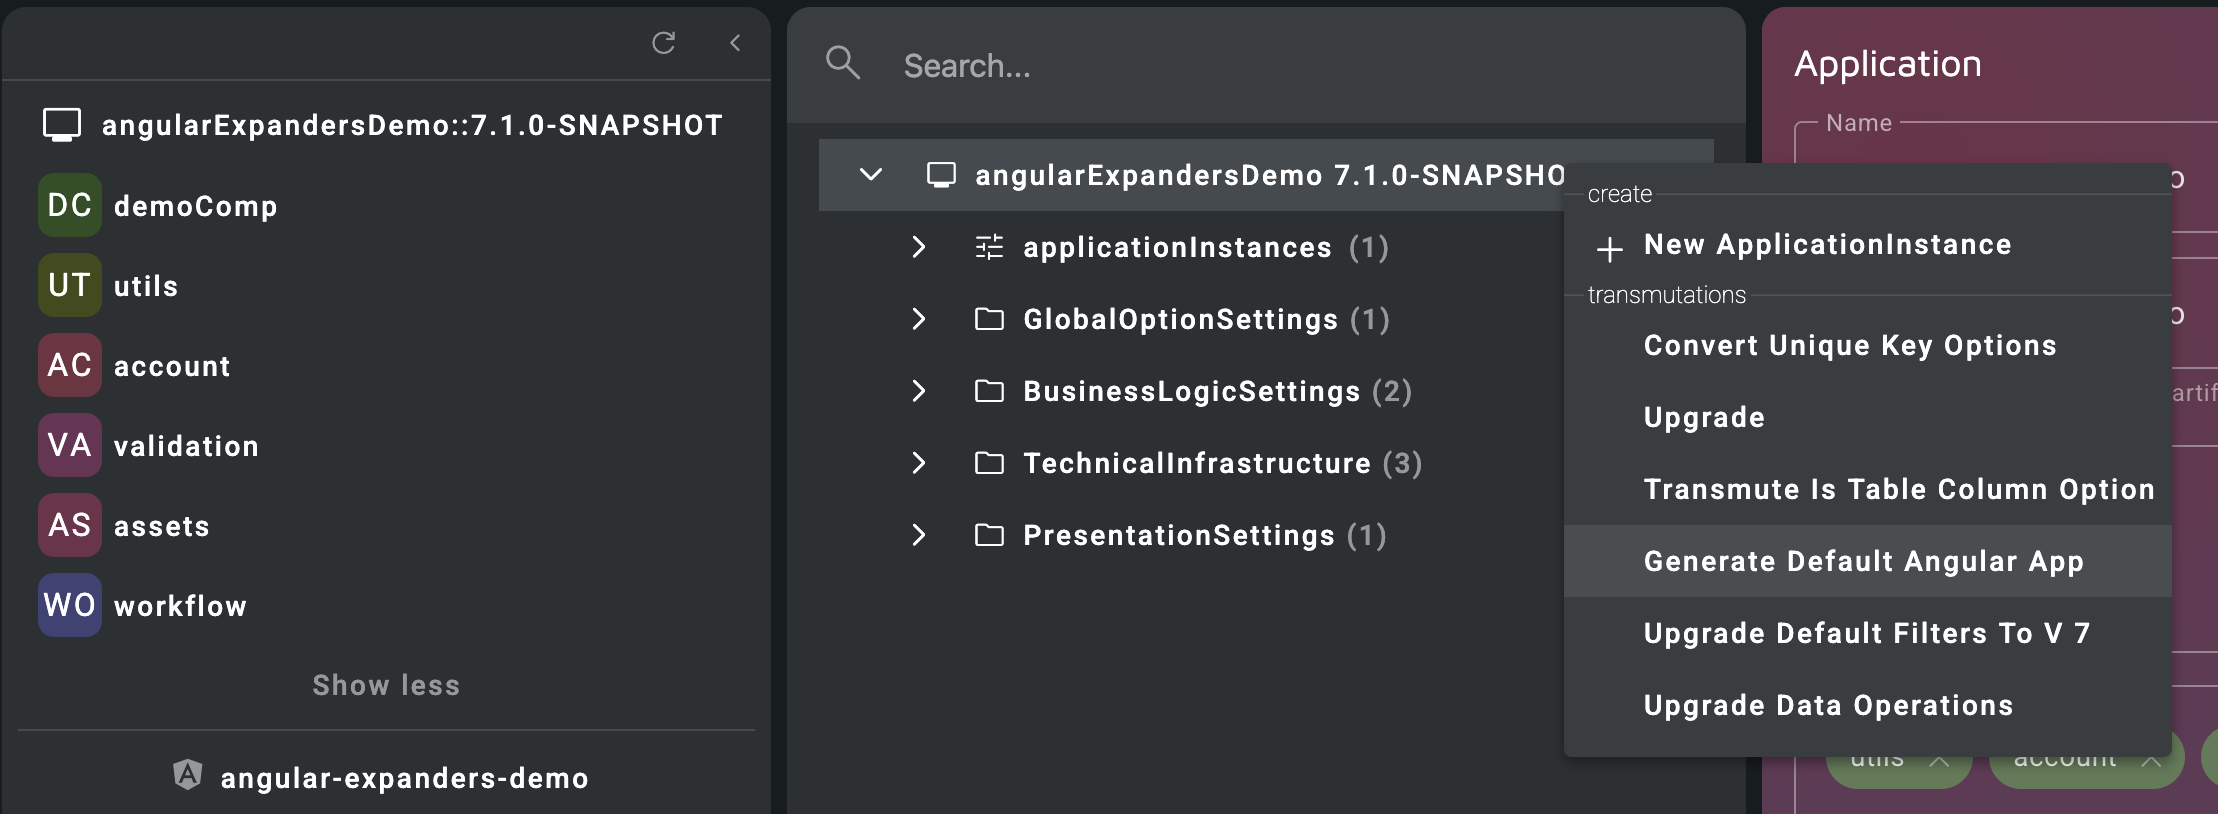
Generate Default Angular App transmuter
To make the Angular model show up in µRadiant for the first time, you have to restart it.
The transmuter will add an Angular expansion to your expansionSettings.xml file, but the currently loaded model files do not include the newly generated expansion yet.
To verify the transmuter worked correctly, you can compare the new Angular expansion in your expansionSettings.xml with the following snippet:
<expansions>
  ...
  <expansion>
    <target>your-app-name</target>
    <profile>Std API yarn Ln0x access</profile>
    <type>angularProjects::AngularApp</type>
  </expansion>
</expansions>
The Angular meta-model is separated from the elements meta-model, so it needs to be updated separately.
Since transmuters are designed to be idempotent, you can run the transmutation each time you want to update your
Angular
model after a change in the elements model.
2. Steps to add Angular application to your docker setup:
After adding the model files, the next step is to extend your project-setup so the Angular frontend can be deployed to an
environment.
The recommended way to set up the Angular application in docker is to add Artifacts and Services to your project-setup model.
Since this project setup can be modelled, a second transmuter (Generate Angular Setup) was developed to
incorporate the new Angular app.
- Open μRadiant and select
.nsprojectin theprojectbutton in the left panel. This opens the project setup model. - Open the "expansion-settings" tab and make sure the project-expanders are at least on version 3.4.0. If not, you can change this in your
/.nsproject/expansionSettings.xml. - In μRadiant, click on your project and run the
Generate Angular Setuptransmuter. This will create Services and Artifacts for the gateway and your Angular application.
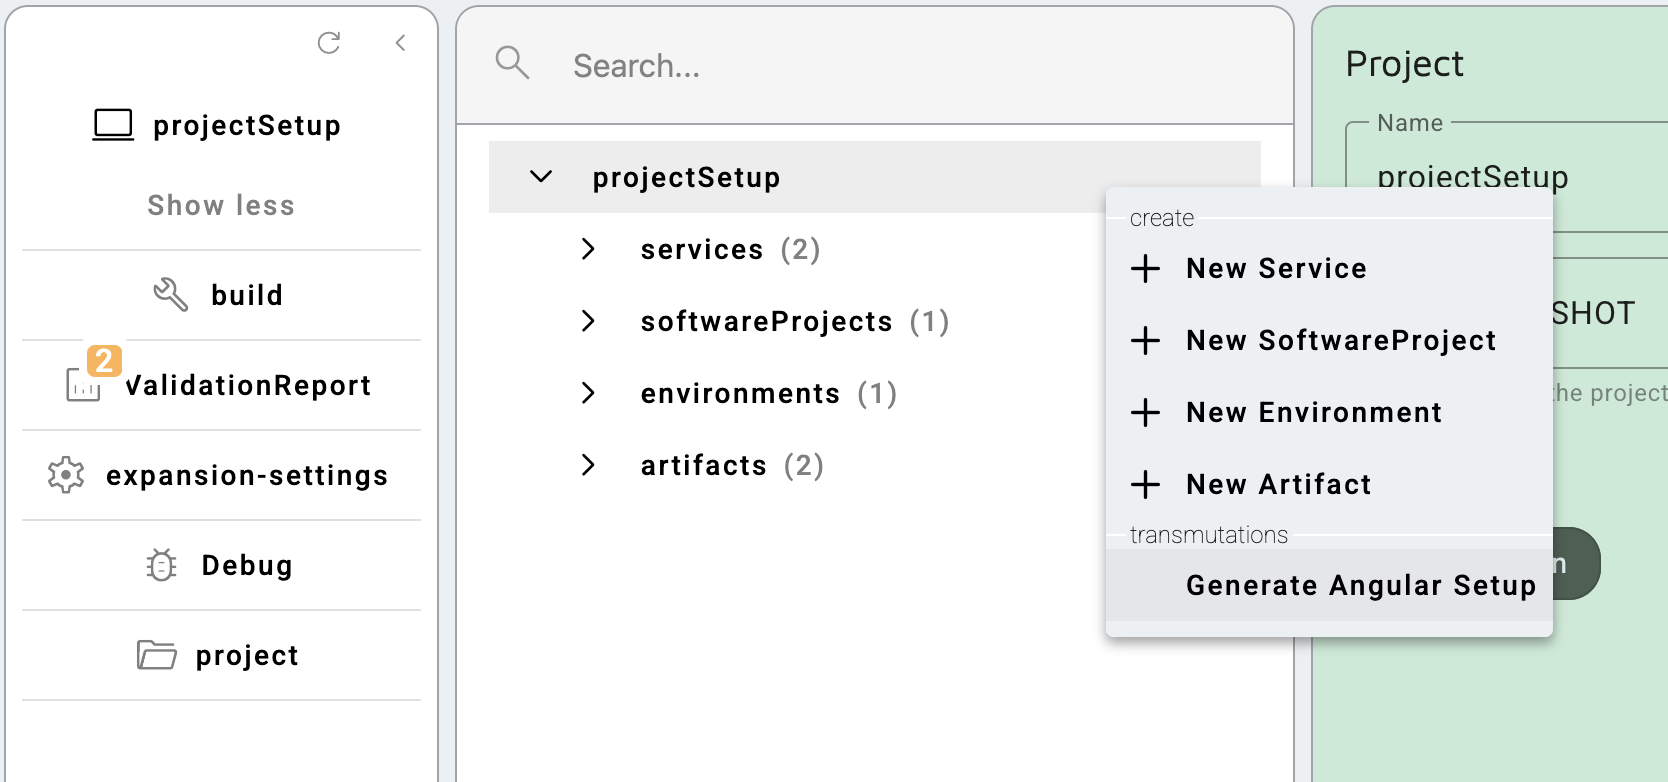
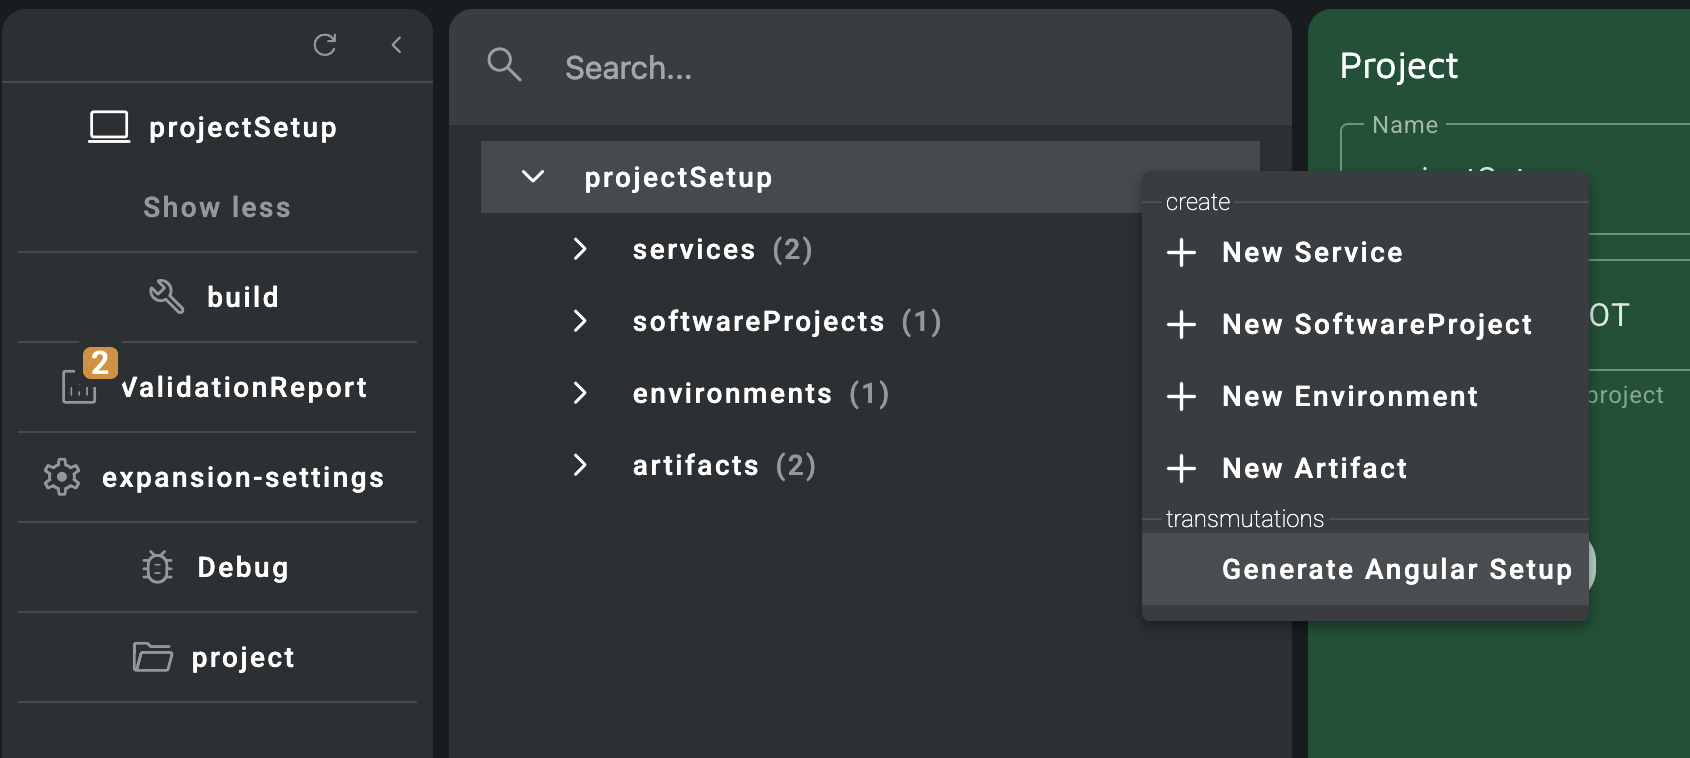
Generate Angular Setup transmuter
- Run the
rejuvenate_nsproject_setup.nssscript. New images will be created in your/dockerfolder, as well as some scripts in your/scriptsfolder. - Expand the application.
- Add an empty
yarn.lockfile inexpansions/..-angularif it doesn't exist yet. This file is required to install the packages defined in thepackage.jsonfile that the Angular application depends on. You should harvest theyarn.lockfile and include it in Git. - Run the build scripts.
- Run the
start_default_services.nssscript. This will copy the built code to thedocker/../deployfolder and run the application in docker containers, resulting in KO running on port8080and Angular on port8081. The gateway runs on port8082. It is the preferred entry point of the application and can be used to access both the Angular and KO frontend, e.g.localhost:8082(Angular),localhost:8082/<jeeAppName>(KO).
If you want to run the Angular application locally without Docker, and see your code changes reflect in the application in real-time, you can run yarn start in your expansions/..-angular folder. This will hot deploy the Angular application on a different port, usually 4200.
Possible issues
- Finders with a name that do not follow the naming convention cause compile errors in Angular.
- When a project has defined custom networks in the
docker-compose.yamlfile, the default gateway setup no longer works. The network alias has to be changed or a new network needs to be created in order for the gateway to find the necessary services. - For the basic auth login process, the
/account/accountendpoint is called. If the user does not have access to this endpoint, you can change the value of theangular.basicAuth.enableoption on AngularApp to any different endpoint that requires the user to be logged in. - If you encounter an issue along the lines of
All custom valueTypes should have a nativeType for angular:form-input, angular:detail-field, ...you can exclude the field from the view-layer, or change the type of the field.